[vc_row][vc_column][vc_column_text]
In this tutorial we show you how to install Virtualmin / Webmin on Debian 10 Buster. Virtualmin is a popular, open source, hosting control panel; simplifying the management of websites, mailbox users and email servers, databases, and web applications. It provides a relatively easy to learn GUI to create virtual servers, install popular software applications ( like WordPress, PHPmyAdmin, and Roundcube) and manage MariaDB database users and passwords. In addition, Virtualmin includes a robust, open API for integration with payment and support systems. Virtualmin is touted to be one of the easiest and quickest methods to turn a Linux system into a full-featured hosting system, and it comes completely integrated with Webmin. Webmin is one of the most popular web-based systems management UI’s for Linux, UNIX, and Mac OS X systems.
For this tutorial, we will be installing the GPL (Open Source ) edition of Virtualmin on a freshly created DigitalOcean droplet.
*** It is highly recommended to begin this tutorial with a freshly created droplet or VPS. Also, do not enable any 3rd party repositories, as they can introduce problems during install and configuration. Although Virtualmin can run on systems with as little as 512MB of RAM, if your goal is to host several websites or websites with heavy traffic, I recommend installing on a 2GB ( $10/month) Digital Ocean droplet. ***
Step 1: Create Droplet / VPS
After you create your account, you will need to create a “Droplet”

DigitalOcean automatically assigns your “Fully Qualified Domain Name” ( FQDN ) upon creation of your droplet, so make sure to properly structure your droplets hostname. An FQDN consists of two parts: the hostname and the domain name. For example, an FQDN for a hypothetical web server might be host.mydomain.com. If you are using another VPS or cloud server provider, you may need to set your FQDN, which will be covered in another tutorial.
Step 2: SSH Root User Login
You will need to open a terminal window after acquiring your server IP address. You will also need to know either your root user password or, if you installed SSH key authentication, you will need to have the private key for the root user’s account stored on your local machine.
root@host:~# ssh root@your_server_IP_address

Assuming this is the first time you have logged into your server, you may need to create a new password. A common mistake with new Debian / Linux users is overlooking the requirement to enter your Current Password, after bypassing the initial login, thus forcing a disconnect from your server.
Step 3: Update Software Packages
Anytime you access a new server, it is recommended to update and upgrade your software packages using the following command:
root@host:~# sudo apt-get update -y && sudo apt-get upgrade -y

Step 4: Install Virtualmin
Virtualmin provides an install script which allows for a seamlessly simple installation. Use the following command to download the script to your root directory.
Access root folder:
root@host:/# cd ~
Download Virtualmin using wget:
~# wget http://software.virtualmin.com/gpl/scripts/install.sh
Run the Install Script and Configure Virtualmin
~# sudo /bin/sh install.sh

The Virtualmin script will run for approximately 5 minutes, while it installs the necessary environment configurations and software packages. So, go ahead and grab a coffee while it runs. After it’s complete, you will receive a success notice with instructions to access the UX.
[SUCCESS] Installation Complete!
[SUCCESS] If there were no errors above, Virtualmin should be ready
[SUCCESS] to configure at https://host.mydomain.com:10000 (or https://your_server_IP_address
10.10.0.5:10000).
[SUCCESS] You’ll receive a security warning in your browser on your first visit.
Step 5: Almost Complete: Changing the root login password
Before accessing your Virtualmin interface, it is wise to change the root password, as by default, it will be the same as your root user login to your server.
Use the following command, ensuring you replace “yourpassword” with the password of your choice.
~# sudo /usr/share/webmin/changepass.pl /etc/webmin root yourpassword
Next, restart Webmin
~# sudo systemctl restart webmin
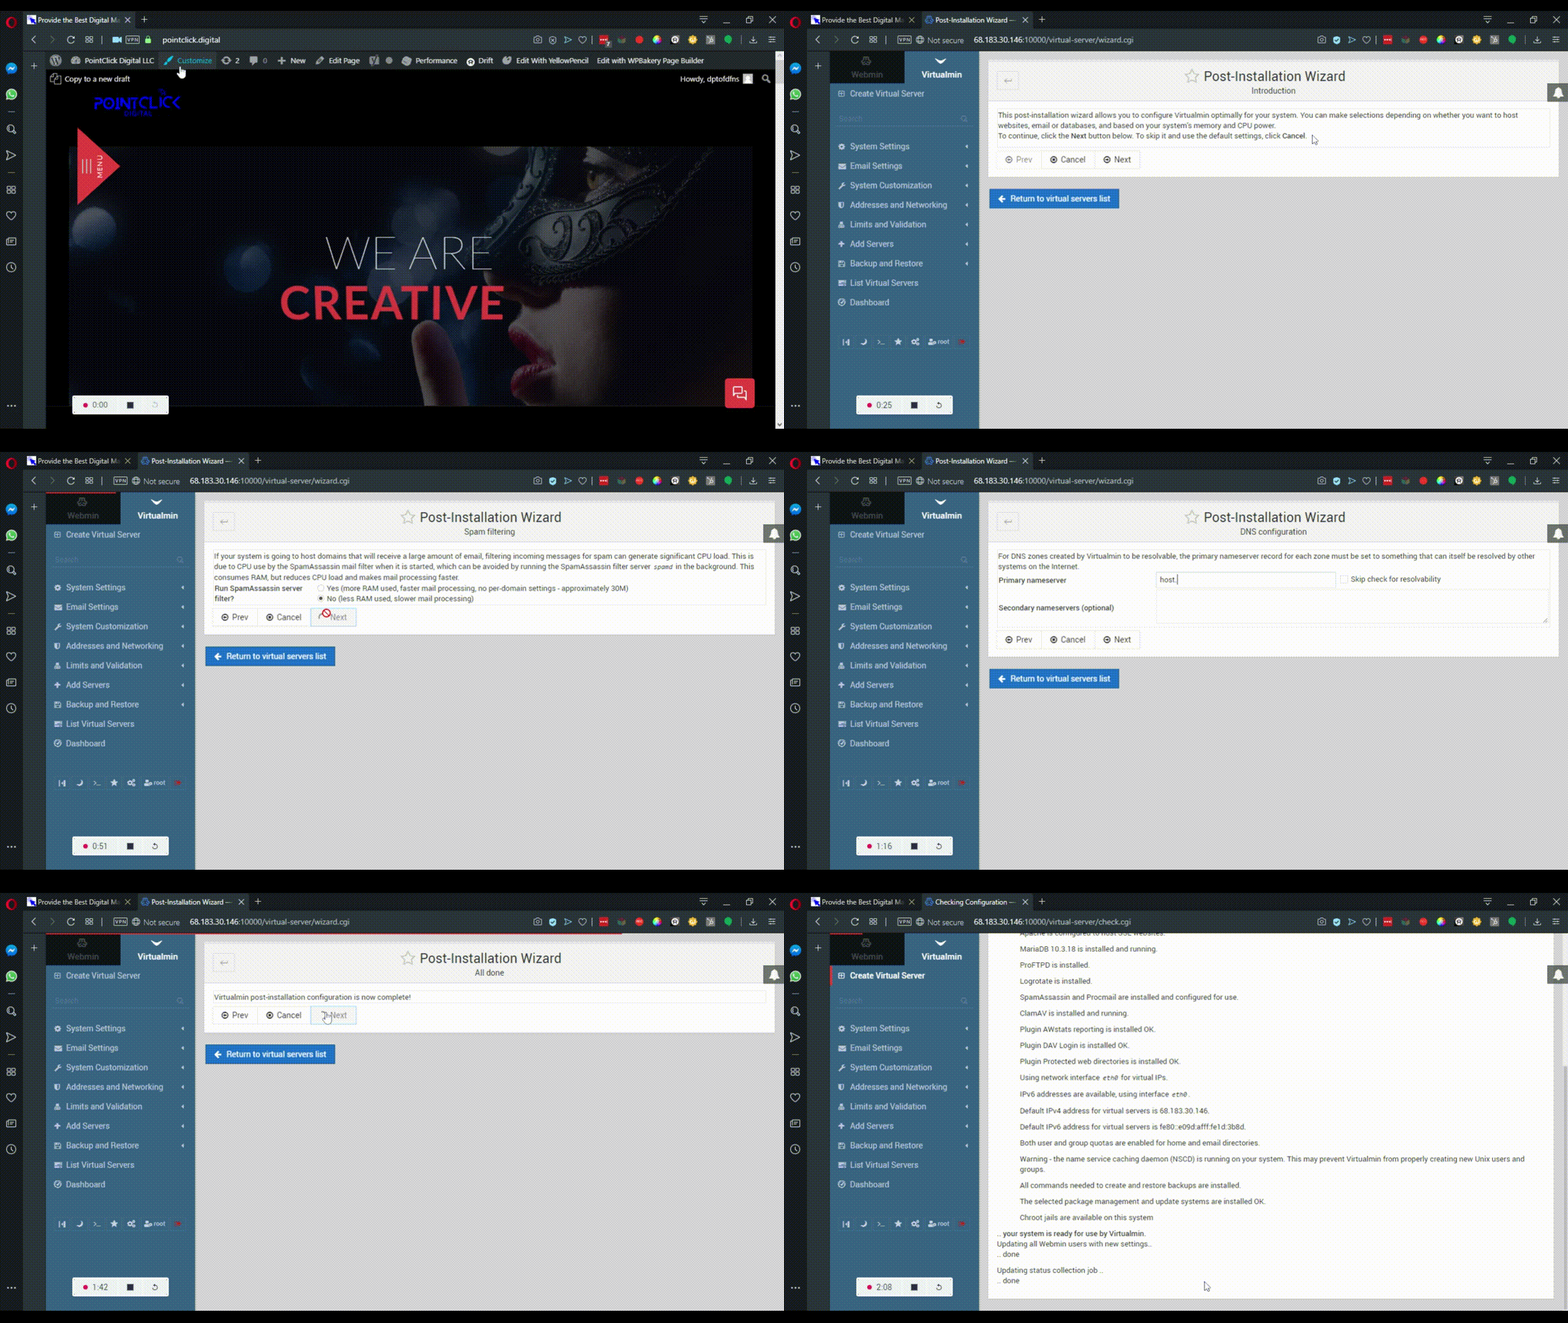
Now you can safely login to your fresh Virtualmin / Webmin instance on Debian 10 Buster, using your IP or domain as noted in the success message provided after the script was completed. Ex. https://your_ip_address:10000

As an additional last step: Due to the popularity of Webmin / Virtualmin, it is wise to change the port used to access the GUI. Google cloud, Amazon, and Azure block access to port 10000 by default, since they have an external firewall in place. DigitalOcean also provides an external firewall, which can be configured.
To change the Webmin port use command:
sudo nano -w /etc/webmin/miniserv.conf
This will allow you to edit your configuration file. You can choose any available port, such as 81 or 8888, just make sure not to use a port that may be used by another resource.

After editing the config file, you will need to restart webmin.
root@host:~# sudo systemctl restart webmin
That’s it! Now you can easily manage your servers and begin creating websites and installing your preferred software.
For more tutorials visit: Resources
[/vc_column_text][/vc_column][/vc_row][vc_row][vc_column][vc_custom_heading text=”For Additional Configuration Instructions Visit the Official Virtualmin Documentation” font_container=”tag:h4|text_align:center|color:%230016e0″ use_theme_fonts=”yes” link=”url:https%3A%2F%2Fwww.virtualmin.com%2Fdownload.html|title:Virtualmin%20Official%20Documentation|target:%20_blank|rel:nofollow”][/vc_column][/vc_row]

